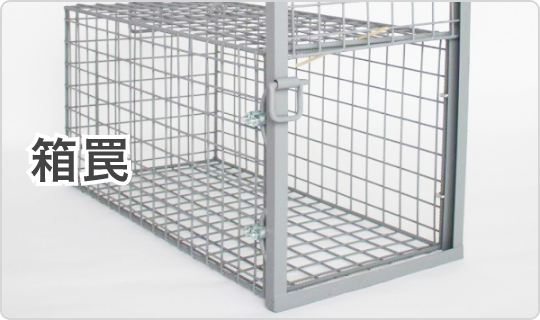
箱罠
箱罠
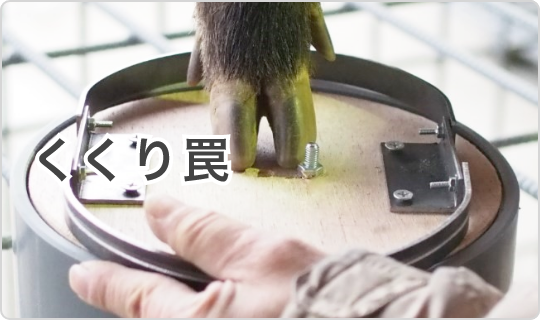
 くくり罠
くくり罠
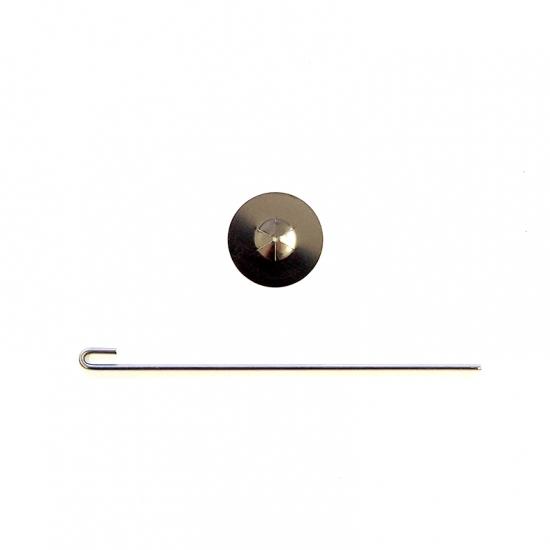
 パーツ類
パーツ類
 電気柵
電気柵
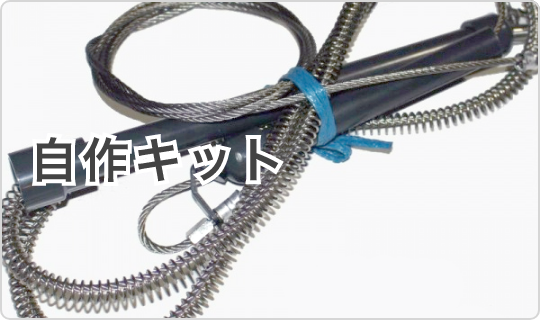
 自作キット
自作キット
 防獣グッズ
防獣グッズ
 監視カメラ
監視カメラ


Bird blocker telescopic bracket [with strong double-sided tape for outdoor use]
Bird blocker telescopic bracket [with strong double-sided tape for outdoor use]
- 出荷日目安:
- 3~4日営業日以内に発送
商品説明
Post metal fittings that can securely hold the fence to the solar panel. Please choose the size according to the height of the gap. * Strong double-sided tape for outdoor use is attached to the bottom and top of the metal fittings. We also recommend caulking with a bond after gluing.
Click here to purchase a fence>>
Click here to purchase the bond>>
Countersunk screw size that can be selected according to the height of the gap
Installable gap
Choose from 4 different lengths according to the height of the gap (If the height of the gap is unknown, please order a set of 4 countersunk screws).
- - Countersunk screw S
- 38-58mm/82g
- - Countersunk screw M
- 58-78mm/88g
- - Countersunk screw L
- 78-98mm/91g
- - Countersunk screw LL
- 98-118mm/94g
- - Set of 4 countersunk screws
- 38-118mm/126g

allocation
〇 Consider the allocation to install the bird blocker. Arrange metal fittings in a well-balanced manner within 1m intervals or corners.
〇Since the size of the panel differs depending on the manufacturer, the actual layout should be handled according to the current situation.
〇 If there is unevenness such as a tiled roof, bend the bottom of the telescopic metal fittings and install and adhere them. Make cuts in the fence with metal scissors or nippers, and pour it outside, being careful not to leave any gaps.

Construction method

① Measure the gap dimension
Measure the clearance dimension [A] of the installation location (Depending on the allocation situation, it may be installed under the mounting rail [B] or under the decorative cover [C]).

②Affix the extension metal fittings
Peel off the release paper from the double-sided tape on the expansion fittings, and install them at intervals of up to 1m and near the corners.

③ Attach the fence
Install the fence as shown. At this time, bend the remaining part of the lower part of the fence to the outside.
3 types of fence mounting brackets to choose from
The fence can be securely installed on uneven roofs such as tiled roofs to flat roofs.
 Hook metal fittings
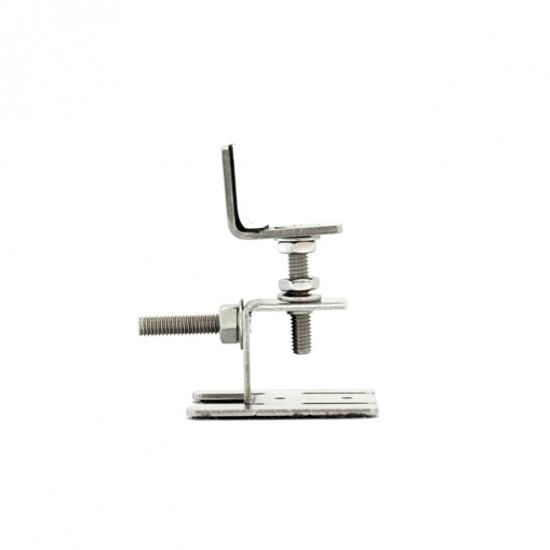
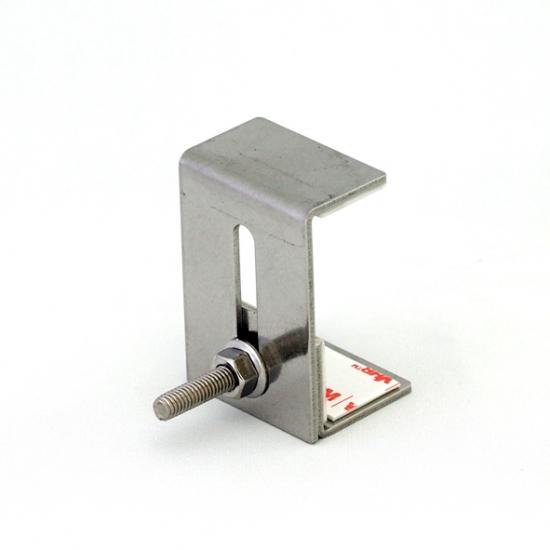 Used when it is difficult to use expansion fittings due to tight steps or shape problems in the slide fitting roof material. Slide and glue the metal fittings according to the thickness of the solar panel, and install the fence. Learn more>>
Product specifications
| サイズ | 幅45×奥行64 (mm) ※組立後 |
|---|---|
| 素材 | ステンレス (SUS304) (屋外用強力両面テープ<3M社製>) |
| 設置可能隙間及び重量 | 皿ネジS:38~58mm/82g 皿ネジM:58~78mm/88g 皿ネジL:78~98mm/91g 皿ネジLL:98~118mm/94g |


 box trap
 tying trap
 enclosure trap
 Prevention and avoidance goods
 鳥獣追い払い用品
 electric fence
 trap surveillance camera
 transportation goods
 Trap detection sensor
 hunting supplies
 hunting books
 Anti-bird goods
 Agricultural materials/machinery
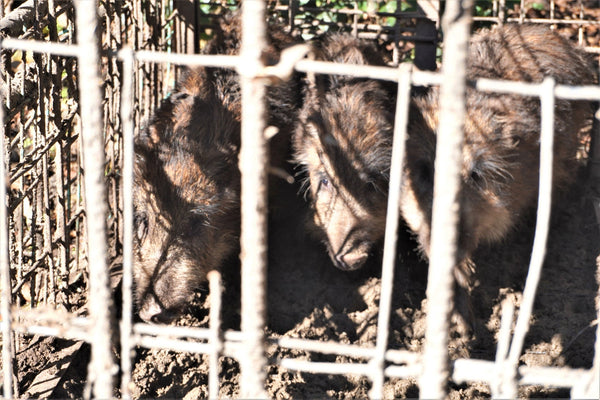
 boar
boar
 deer
deer
 Kyon
Kyon
 monkey
 raccoon
 Badger
 palm civet
 raccoon dog
 nutria
 mouse or rat
 Mole
Mole
 bear
bear
 pigeon
 Crow
Crow