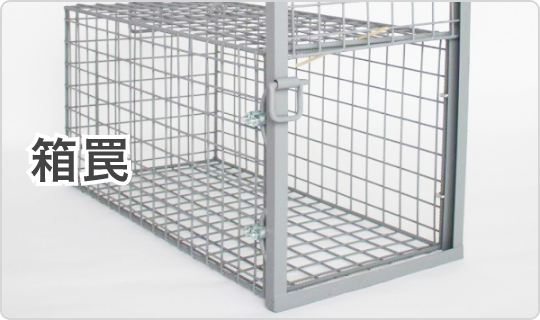
箱罠
箱罠
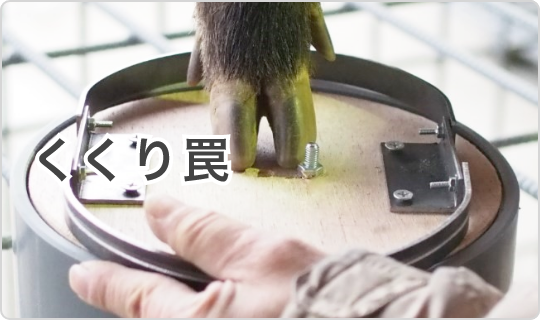
 くくり罠
くくり罠
 パーツ類
パーツ類
 電気柵
電気柵
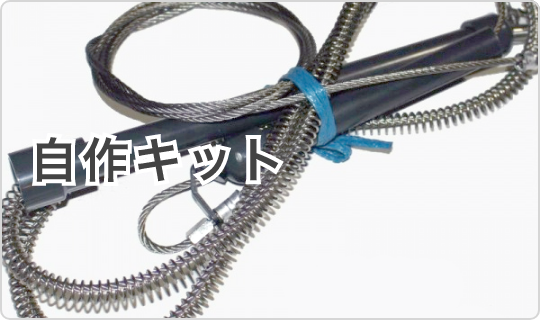
 自作キット
自作キット
 防獣グッズ
防獣グッズ
 監視カメラ
監視カメラ

There are differences in how to install an electric fence depending on the installation location and the type of animal.
Here is a step-by-step guide on how to install an electric fence. We also introduce points for each type of animal, so please refer to them.
Explaining how to install an electric fence in 5 steps
Electric fences are animal damage countermeasures that enclose fields where crops are grown with electric fences to prevent wild animals from entering. Instead of destroying animals that touch the fence, they shock them with a brief electrical stimulus that occurs when they touch the fence.The purpose is to give the animals a psychological sense of fear, to make them learn to "stay away from the fence", and to keep the animals away from the field. However, if it is installed incorrectly or does not work properly, animals will not perceive the electric fence as scary and its effectiveness will be reduced.
Now, let's take a step-by-step look at the correct installation method to ensure that the electric fence is effective and protect your precious crops.
step 1. Assemble the necessary equipment and tools
First of all, prepare the equipment necessary for installing the electric fence and the tools to be used during work.[Equipment required for electric fence]
・Body
・Strut
・Clip (insulator)
・Electric fence line
・Earth
・Simple tester (voltage detector)
・Gate handle
・Danger board
To install an electric fence, you will need the following equipment.
If you have specialized knowledge or experience, or if you want replacement parts, there is no problem in purchasing the equipment individually. However, if you are installing an electric fence for the first time, it is recommended to purchase a commercially available set product. All the equipment you need is included and you can get to work right away.
Buying the set is also cheaper than buying the items individually. If you want to install an electric fence on a new farmland, it will be easier to buy it as a set product.
[Tools required for installation work]
・Rubber hammer or plastic hammer
・Scissors or nippers
・Work gloves
Installation work requires a rubber hammer or plastic hammer to drive in the stakes and posts. Please avoid iron ahumbers as they may damage the posts.
Also, prepare scissors and nippers for cutting electric fence wires. It's a good idea to have work gloves on hand to prevent injury.
Step 2. Preparation before installation
Once you have the necessary equipment and tools, prepare to install the electric fence. Specifically, it is maintenance of land to install.First, cut the undergrowth at the installation location. If weeds touch the electric fence, a short circuit may occur and the main unit may not work properly.
Tall weeds also provide a good environment for wildlife to hide in, so be sure to mow them clean. If there are trees near the electric fence, check the growth of the branches.
Since the support part is driven directly into the ground, if the ground is uneven, level it cleanly. If there is a difference in elevation between places, wild animals will dig and invade the ground, so prepare an environment with as little difference in elevation as possible.
Step 3. Install posts and fences
Next, we will install the poles and fences. Here are the steps:1. attach the clip to the pole
2. Drive the post into the ground (about 20 to 30 cm from the ground)
3. Stretch the fence line sideways along the clip
Four. Connect the horizontal fence lines vertically
Five. install gate handle
6. Install a hazard sign
|
animal |
boar |
deer |
monkey |
|
rail spacing |
20 cm interval |
30 cm interval |
20 cm interval |
|
Number of steps |
2 to 3 steps |
4 steps |
8 steps |
|
Stanchion spacing |
200-400cm |
300-400cm |
300-400cm |
Clips (insulators) are attached to the posts in advance.
Adjust the number of fence tiers according to the type of target animal, as shown in the table above. For example, wild boars are 2-tiered, and deer are 4-tiered.
Let's attach the clips according to the number of steps. The mounting position can be adjusted later.
Drive the post about 20 to 30 cm into the ground so that it does not wobble. The distance between shots is also adjusted according to the type of animal. What I want to pay attention to is the distance between the slope and the support.
Placing posts near slopes can cause wild animals to jump over electric fences as they descend. Please keep a distance of about 2m between the slope and the support.
Also, I mentioned earlier that there is a risk of animals entering if there is a difference in height on the ground. If a height difference is unavoidable, increase the number of steps of the fence only in that part and devise ways to prevent gaps.
Step 4. Install the main unit and ground
After the fence is installed, we will install the main body. Depending on the type of main unit, there are types that are inserted into the pole and types that are attached using screws.Please read the instruction manual of the product and install it. Also, choose a place that receives enough sunlight to install the main body of the type with a solar panel. Next, bury the ground wire deep into the ground.
The point is to avoid rocks and bury it in a damp place.
Step 5. Check with a tester through electricity
Finally, actually pass electricity and check it with a tester. Test not only one place, but check multiple places to check if the voltage is stable.Once the electric fence is installed, it will be put into operation on the same day. If an animal enters while the fence is not operating even overnight, it learns that the electric fence is not scary. This will not work as an electric fence. Let's secure the time and manpower so that the installation work of the electric fence can be operated on the same day.
Installation points by animal
Finally, we will introduce points for installing electric fences for each type of typical animal.1. boar
Wild boars have very sensitive noses, so the point is to install the fence so that the nose is at the height of the fence. Touching parts of the body that are covered with hair will reduce its effectiveness.A boar's nose is about 20 to 30 cm high, so please install the fence at this height. Wild boars may also dig and attempt to enter under fences. If there is a height difference on the ground, increase the number of steps of the fence so that no gaps are created.
2. deer
Deer have the ability to leap and jump over electric fences to enter. In order to prevent such intrusion, it is important to keep the distance between the slope and the support.Raising the height of the pedestal a little will help. Also, although deer have the ability to jump, the most common damage they do is slipping through the lower floors. Please take care of the gaps by increasing the number of steps in places where there is a difference in height.
3. monkey
Because monkeys are smaller than other animals, please use more tiers of electric fences. About 8 steps is a guideline.Also, if there are tall trees or utility poles around, they will climb up to high places and jump in to invade. Keep some distance between the electric fence and places where monkeys are likely to climb, and take measures such as cutting off unnecessary branches.
summary
This time, I explained how to install an electric fence and the points of measures for each animal. Electric fences are an effective method of preventing animal damage, but if there are errors or gaps in the installation method, animals will be allowed to enter.Hold the points firmly and draw out the maximum effect. In addition, if you use physical defense measures such as animal fences and nets in combination with electric fences, the effect will be further enhanced. In order to protect important crops, let's prepare a perfect environment.


 box trap
 tying trap
 enclosure trap
 Prevention and avoidance goods
 electric fence
 trap surveillance camera
 transportation goods
 Trap detection sensor
 hunting supplies
 game cookware
 hunting books
 Anti-bird goods
 Agricultural materials/machinery
 Gibier
 boar
boar
 deer
deer
 Kyon
Kyon
 monkey
 raccoon
 Badger
 palm civet
 raccoon dog
 nutria
 mouse or rat
 Mole
Mole
 bear
bear
 pigeon
 Crow
Crow